The three settings work together
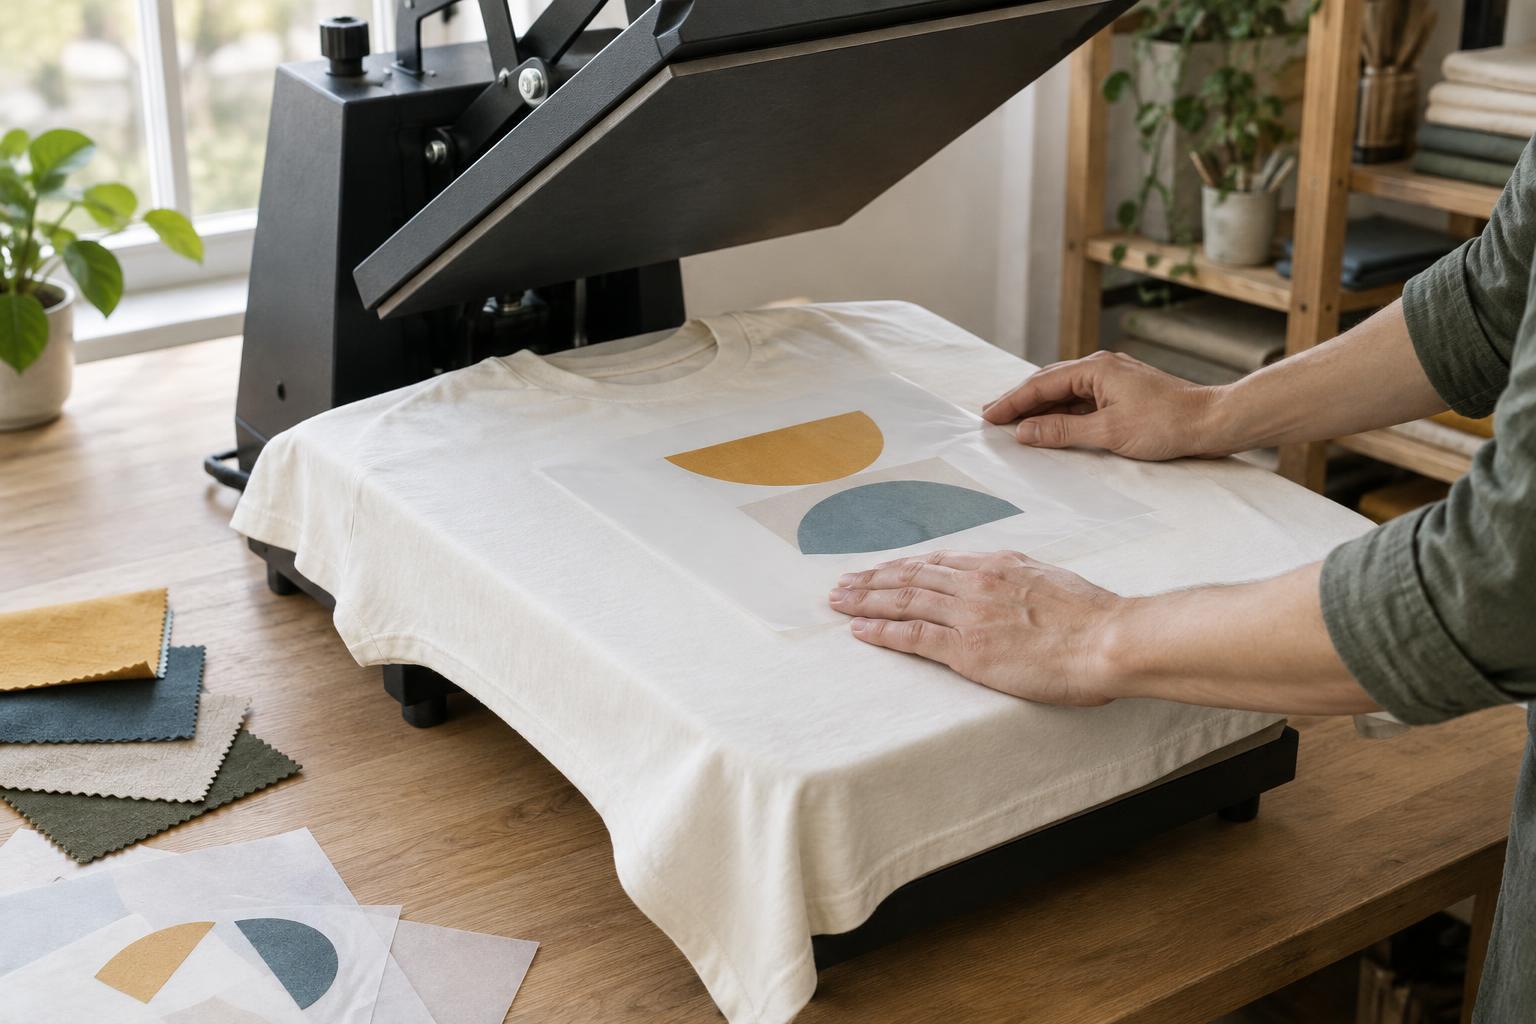
A heat press applies controlled heat and pressure to a transfer for a set period. Depending on the transfer, that process may soften an adhesive, cure an ink layer or bond a printed design to the garment. Time, temperature and pressure are connected: changing one can affect how the others perform. A longer press is not automatically a substitute for insufficient heat, and extra pressure will not fix a transfer applied at the wrong temperature.
Start with the instructions for both the transfer and the garment. Heat-transfer vinyl, screen-printed transfers, direct-to-film transfers and sublimation prints can call for different procedures. Even products within one category may have different requirements. Treat the recommended settings, including any guidance on pre-pressing, peeling and repressing, as your starting point rather than applying a universal recipe.
Time: enough to bond, not simply more
Press time determines how long heat reaches the transfer and the fabric beneath it. Too little time may leave an adhesive incompletely bonded, particularly at fine edges or corners. Too much time can expose the garment and transfer to unnecessary heat. Depending on the materials, that may contribute to discoloration, a visible press mark or an unwanted change in the transfer’s finish.
Use a timer rather than estimating by feel. If the instructions call for a warm or cool peel, follow that step as well: removing a carrier before the transfer is ready can disturb the design even when the press time was correct. When a small area has not adhered, check placement, pressure and temperature before adding more time. Repressing can help with some transfers, but only when the product guidance allows it.
Temperature: match the transfer and the fabric
Temperature affects how a transfer responds and how much heat the garment absorbs. A setting that is too low may prevent a reliable bond. A setting that is too high can damage heat-sensitive fabrics, alter a transfer’s appearance or leave a shiny area on some garments. Fabric labels help identify materials that need particular care, but the transfer instructions must also be compatible with the chosen garment.
Give the press time to reach its set temperature before starting. If results vary across otherwise similar shirts, consider whether the heating surface is warming evenly or losing heat between presses. A test on a spare garment or an inconspicuous area can reveal how the fabric responds. Use a suitable protective sheet when the transfer instructions call for one, and keep it clean so residue does not mark the shirt.
Pressure: aim for consistent contact
Pressure holds the transfer against the fabric so heat can reach the design evenly. Too little pressure may leave sections poorly bonded; too much can flatten textured fabric, create press marks or make placement harder to manage. Descriptions such as light, medium and firm are relative to the press and transfer, so use the transfer maker’s guidance and adjust carefully.
Even contact matters as much as the pressure setting. Seams, collars, pockets and buttons can raise parts of a shirt away from the platen. Position the design on a flat area, or use an appropriate pressing pillow or smaller platen to keep raised features out of the pressing zone. Smooth the garment before positioning the transfer, and check that its edges lie flat.
A repeatable workflow makes troubleshooting easier
Before pressing, inspect the garment and transfer, then confirm orientation and placement. If recommended for the material, a brief pre-press can flatten wrinkles and help remove moisture. Follow the specified settings, keep the press closed for the full time, and peel the carrier at the instructed stage. Let the design settle before assessing it; a transfer that feels different while warm may look and feel different once cool.
If a result is uneven, change only one variable at a time on a test piece and note what happened. Lifting edges may point to inadequate contact, an unsuitable setting or a missed peel instruction. A rectangular mark may suggest excess heat or pressure on a sensitive fabric. Testing and recording the garment, transfer and settings will make future projects easier to repeat, while leaving room for differences between materials.