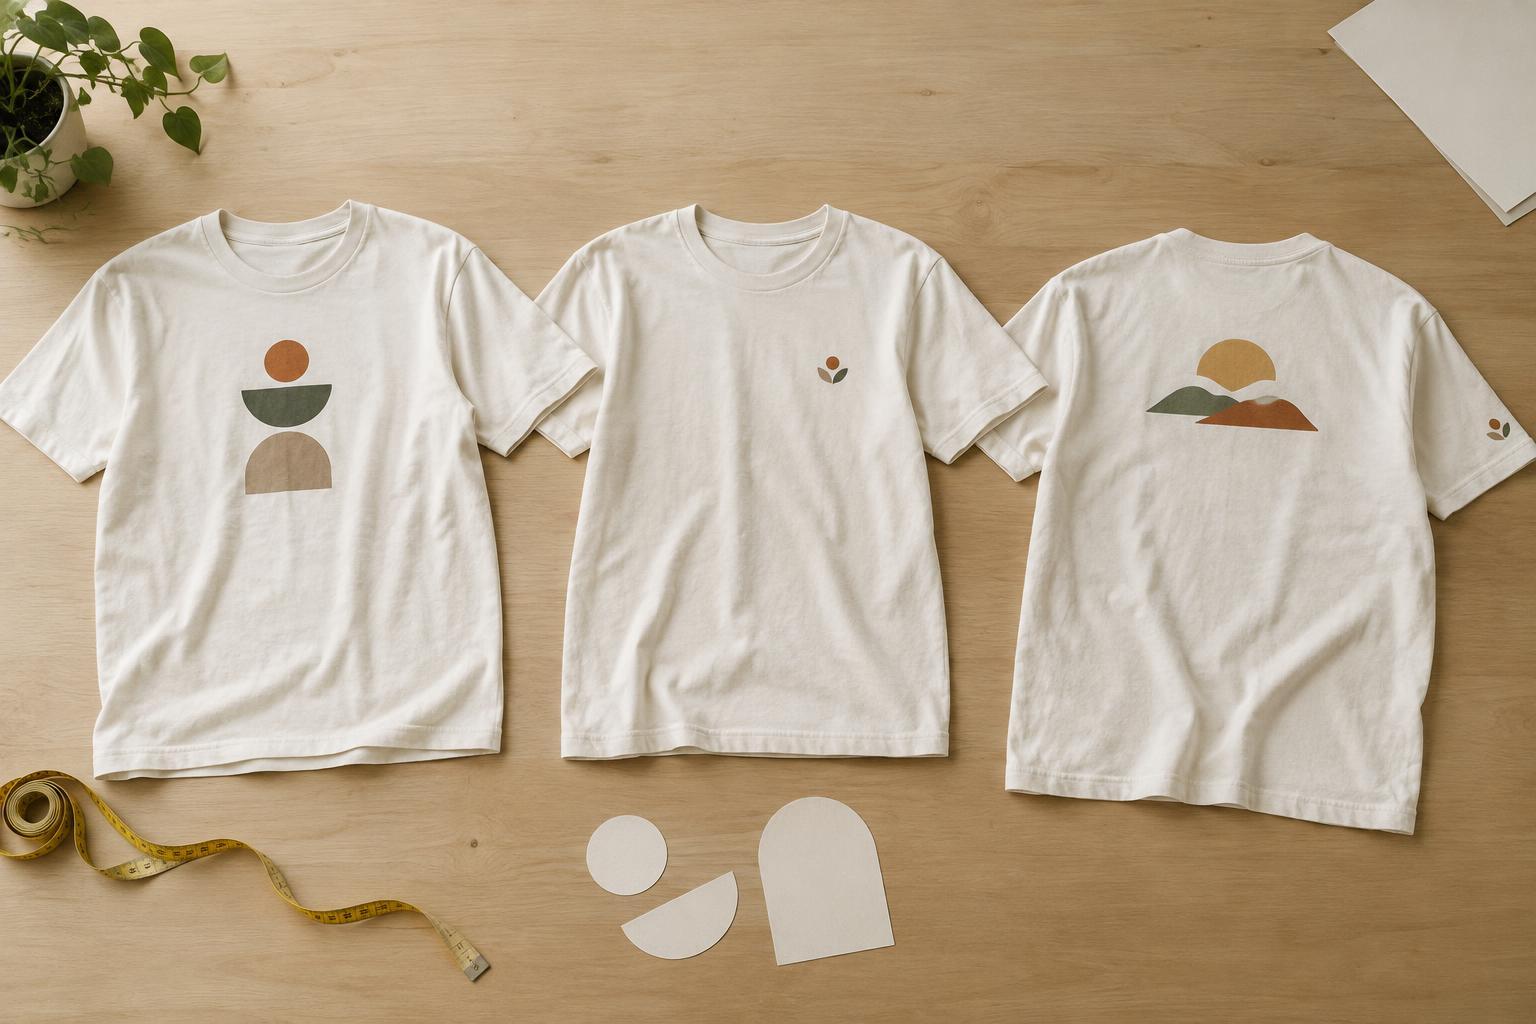
Decide what someone should notice first
A person viewing a T-shirt from across a room rarely studies it the way a designer studies a close-up file. They see a moving garment, changing light and perhaps only a brief glimpse of the front. Start by choosing one thing that must register immediately: a word, a short phrase, a symbol or a distinctive shape. Let supporting details reward a closer look rather than compete for first attention.
A useful design hierarchy has a clear focal point, a secondary element and little else. If every word and illustration is equally prominent, the viewer has to work out where to look. Try describing your design in one sentence. If the description requires a long list of equally important parts, consider removing or combining some of them.
Give type enough size and space
Short messages are generally easier to read at a distance than long ones. A few large words can carry an idea more effectively than a full sentence set in small type. Choose letterforms with clear shapes, and pay particular attention to characters that may look alike. Thin strokes, elaborate scripts and tightly condensed fonts can be striking up close but may lose definition when the shirt is moving.
Spacing matters as much as font choice. Leave enough room between letters for their shapes to remain separate, and give lines of text breathing space so they do not merge into a block. Avoid shrinking a design merely to fit more words inside it. If the message will not fit comfortably, edit the copy or divide the information into a large main statement and a smaller detail intended for close viewing.
Judge type at the size it will appear on the garment, not only at a zoomed-in screen size. A headline that fills a digital canvas may be much smaller once placed within the printable area of a shirt. Check the intended placement and dimensions before treating the layout as finished.
Use contrast to separate the graphic from the shirt
The shirt color is part of the design. Dark lettering on a dark garment, or a pale illustration on a light one, may be hard to distinguish even if the artwork looks attractive in isolation. Look at the design against the actual garment color and ask whether the main message remains clear when you narrow your eyes. If its edges disappear, a stronger difference in lightness may help.
Contrast does not require using only black and white. Color can give a graphic character, but colors with similar lightness can blend together from farther away. A simple outline, a solid background shape or a change in the color of the main text may improve separation. Keep those additions purposeful: too many borders, shadows and accent colors can make the graphic busier without making it clearer.
Also consider how the graphic sits on a real body. Fabric folds and curved surfaces can interrupt fine lines or split small lettering. Giving important elements generous margins and avoiding extremely delicate features can make the design more tolerant of normal wear.
Simplify details without losing personality
Illustrations can remain expressive without showing every feature. Strong silhouettes, recognizable proportions and a limited number of prominent shapes often communicate more quickly than intricate textures. If an image depends on tiny labels, fine hatching or subtle color shifts to make sense, those details may be better treated as extras rather than essential information.
For a design that combines an image and words, decide which carries the message. An illustration can frame a large phrase, or a brief caption can explain a bold icon. Avoid making both elements equally dense. Open space around the focal point helps it stand out and gives the eye a place to rest.
The decoration method may affect how small details appear, so review any minimum line widths or artwork guidance provided by the printer or decorator you plan to use. Different methods and materials can handle fine features differently. Design choices that work in a digital preview do not guarantee the same appearance on fabric.
Test the design in a realistic viewing situation
Before finalizing, place the graphic at its intended size on a mockup or a paper template held against a shirt. Step back, glance at it briefly and note what you can identify first. Repeat the check at a few distances and in ordinary lighting. Ask someone unfamiliar with the design what they noticed; their first impression can reveal whether the intended focal point is working.
Try a small grayscale preview as well. Removing color temporarily can show whether the design relies on hues that have too little light-dark contrast. You can also shrink the artwork on your screen until it resembles a quick view from farther away. These are useful checks, not exact predictions of a printed result.
If the message is difficult to read, change one thing at a time: enlarge the key words, remove a line of copy, strengthen contrast or simplify the illustration. Then test again. The goal is not to make every detail visible from across a room. It is to make the main idea recognizable at a glance while leaving room for personality up close.