Start with the care label and the decoration
A stain on a plain T-shirt is usually easier to reach than one that overlaps a printed graphic, transfer, appliqué or embroidery. Scrubbing may spread the stain while putting friction on the design. Before treating the spot, check the garment’s care label and look closely at the decoration. Note whether it has raised edges, stitching, a textured surface or areas that already appear loose.
If the care label calls for special cleaning, follow it rather than a general stain-removal routine. For a washable tee, the safest starting point is usually to remove excess material, blot gently and use as little product as the stain needs. Work on the surrounding fabric where possible, instead of rubbing directly across the design. Even a familiar stain remover can affect a particular print or garment dye, so test it first on a small, inconspicuous area.
Blot first, then choose a mild pretreatment
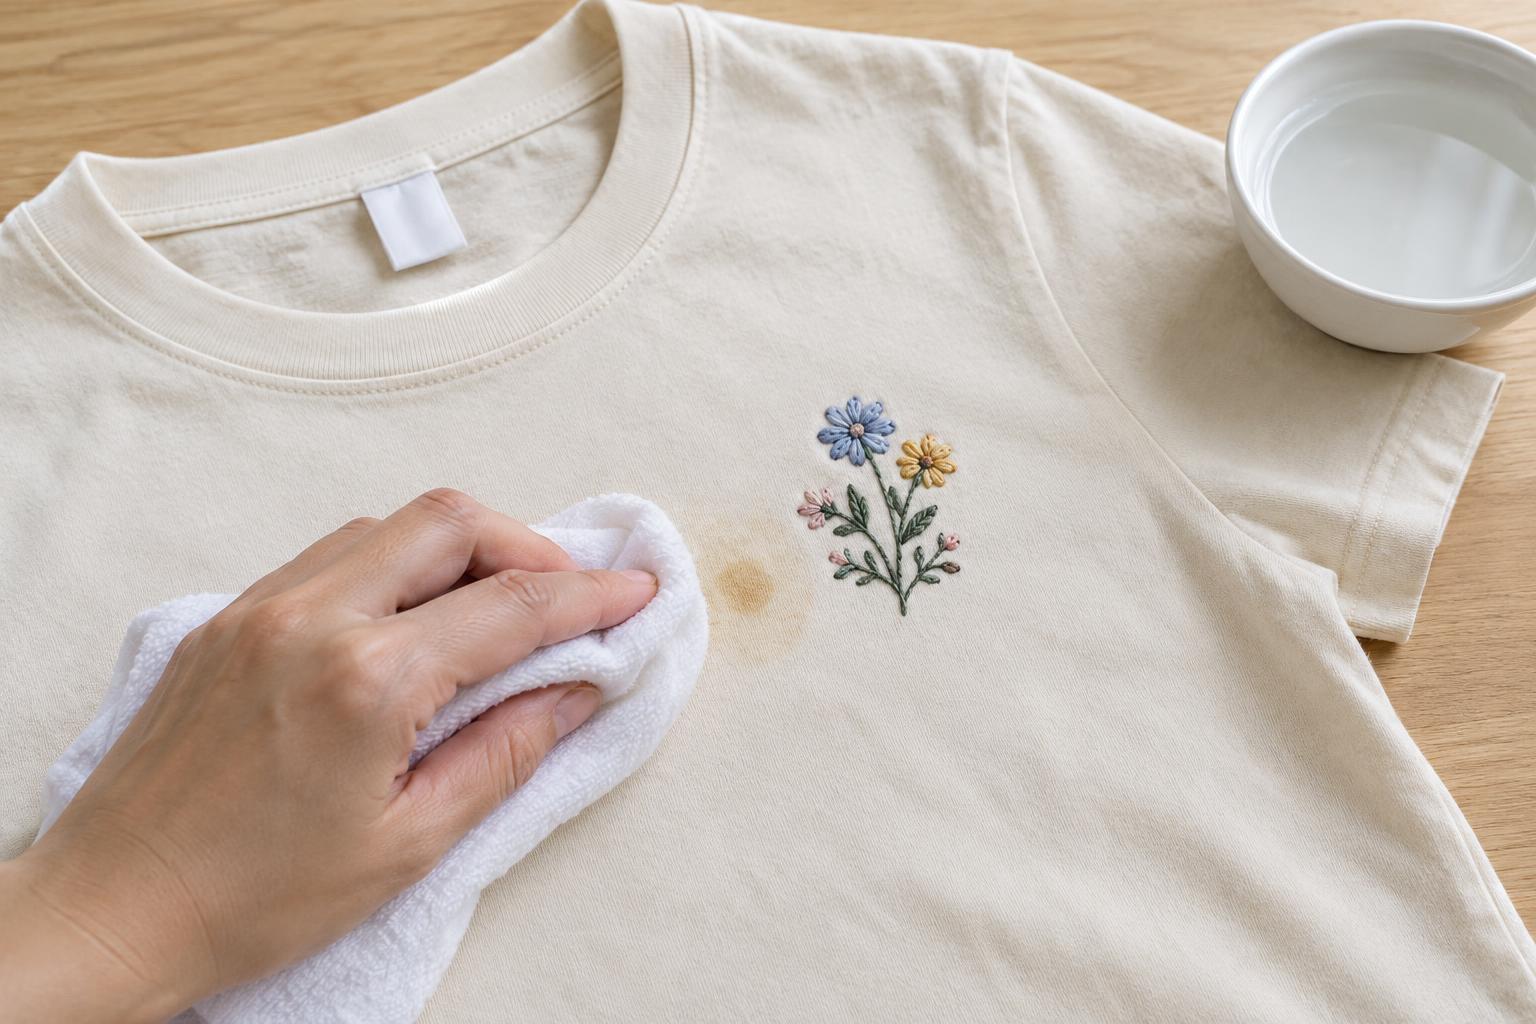
Lift away any solid residue with the edge of a spoon or a soft cloth, without dragging it across the graphic. For a fresh liquid spill, press a clean, absorbent cloth against the stain and lift it away. Repeat with a clean part of the cloth. Blotting helps remove what you can before adding water or cleaner; rubbing can push residue farther into the fibres.
For many everyday spills, a small amount of liquid laundry detergent diluted with water is a reasonable first step. Dab it onto the stained fabric with a clean cloth or your fingertips, taking care not to work it under a transfer edge or into dense stitching. Follow the detergent’s directions for contact time, and do not let the area dry with cleaner on it. Avoid piling on different stain products: more chemicals do not necessarily mean better cleaning, and mixing cleaners can be unsafe.
Adjust your approach to the stain
For an oily mark, first blot away any surface grease. A little liquid laundry detergent applied to the fabric may help loosen what remains. For food or drink spills, cool water is a sensible starting point, particularly when you are unsure what the stain contains. If the spill includes blood, egg or another protein, begin with cool rather than hot water; heat may make some protein stains harder to remove.
Makeup, ink and dye transfers can be more stubborn, and a mild wash may not remove them completely. Resist the urge to compensate with vigorous rubbing or strong solvents over a design. If you consider a stain remover intended for that type of mark, check that it suits the garment and test it somewhere hidden first. When a stain sits directly on a delicate print, accepting a faint mark may be preferable to risking visible damage to the decoration.
Rinse and wash with minimal friction
After pretreating, rinse according to the care label. Where the fabric and decoration allow it, running cool water through the back of the stained area can help carry loosened residue away from the front. Use a gentle flow, especially around a transfer or stitched detail. If rinsing from the back would bend or soak a fragile decoration, dab away the pretreatment with a damp cloth instead.
Wash the T-shirt as its label directs. Turning it inside out can reduce contact between the decoration and other items in the wash. A gentle cycle and similar garments are practical choices when a design is prone to abrasion, though they cannot protect every type of print. Do not use bleach or a harsh brush simply because the first treatment left a trace; those approaches may change the fabric colour or finish as well as the stain.
Check the spot before applying heat
Inspect the T-shirt after washing and before putting it in a dryer or ironing it. Heat can make some remaining stains more difficult to remove, while excessive heat may also be unsuitable for certain decorations. If the mark is still visible, repeat a gentle pretreatment once, provided the garment and design show no signs of damage. Let the shirt air-dry while you decide what to do next.
If the stain persists, reassess rather than scrubbing harder. Its type, age, the fabric dye and the decoration all affect what is practical to try. A careful routine—blot, spot-test, treat lightly, rinse and inspect—gives you a way to address the stain without making the printed or stitched design the cleaning surface.