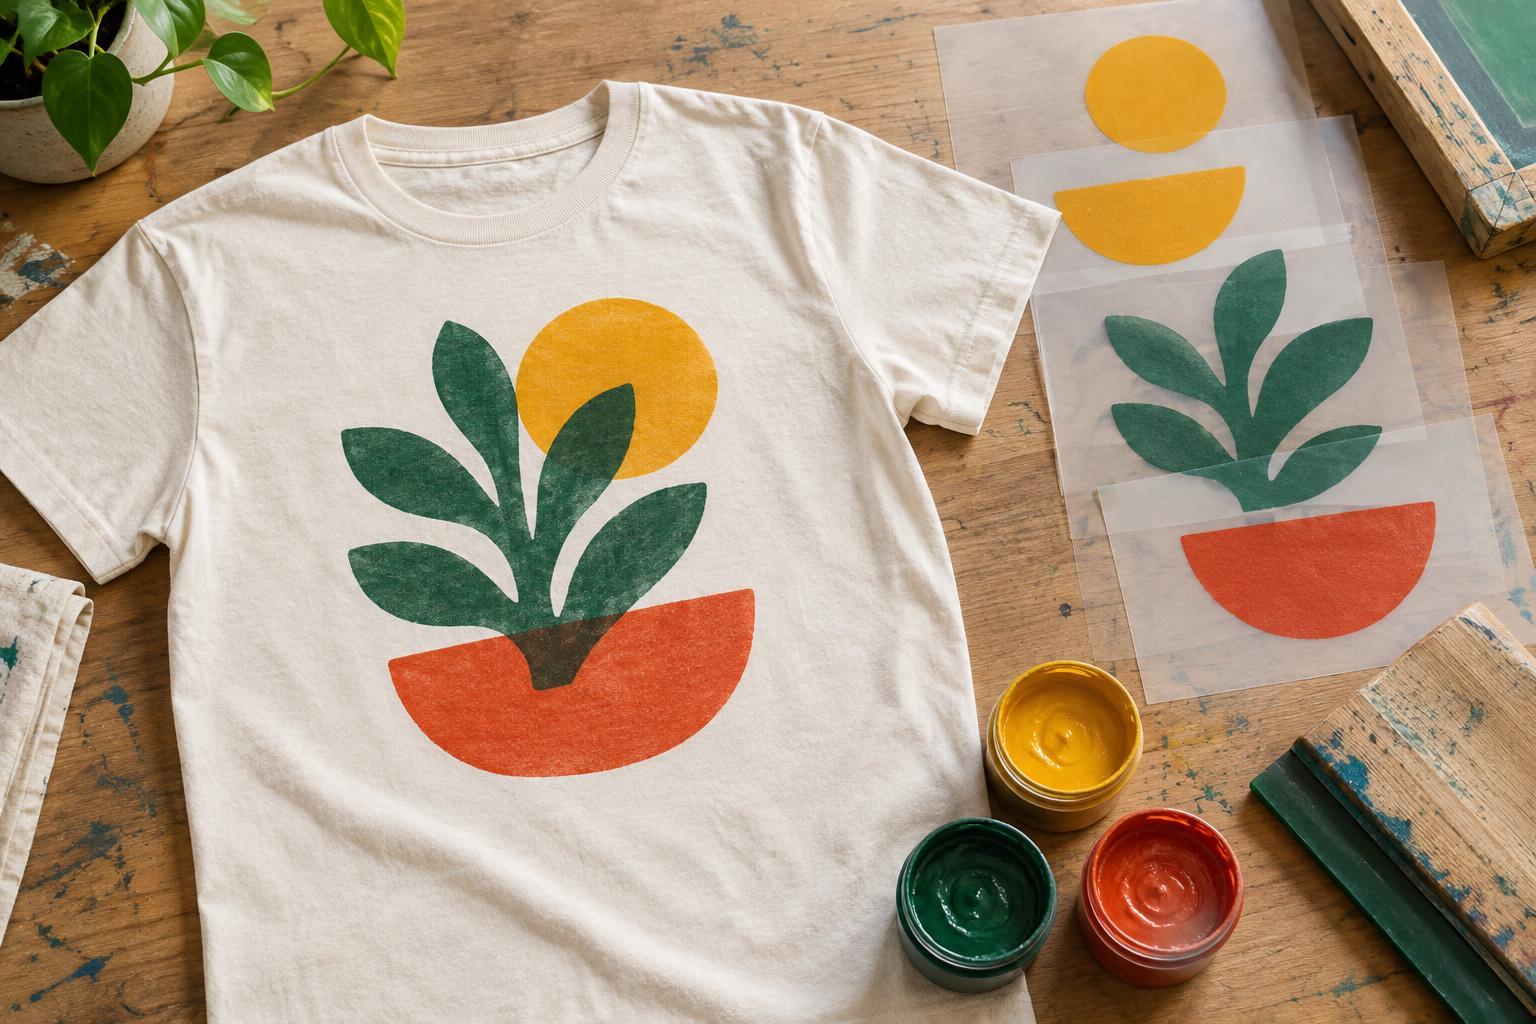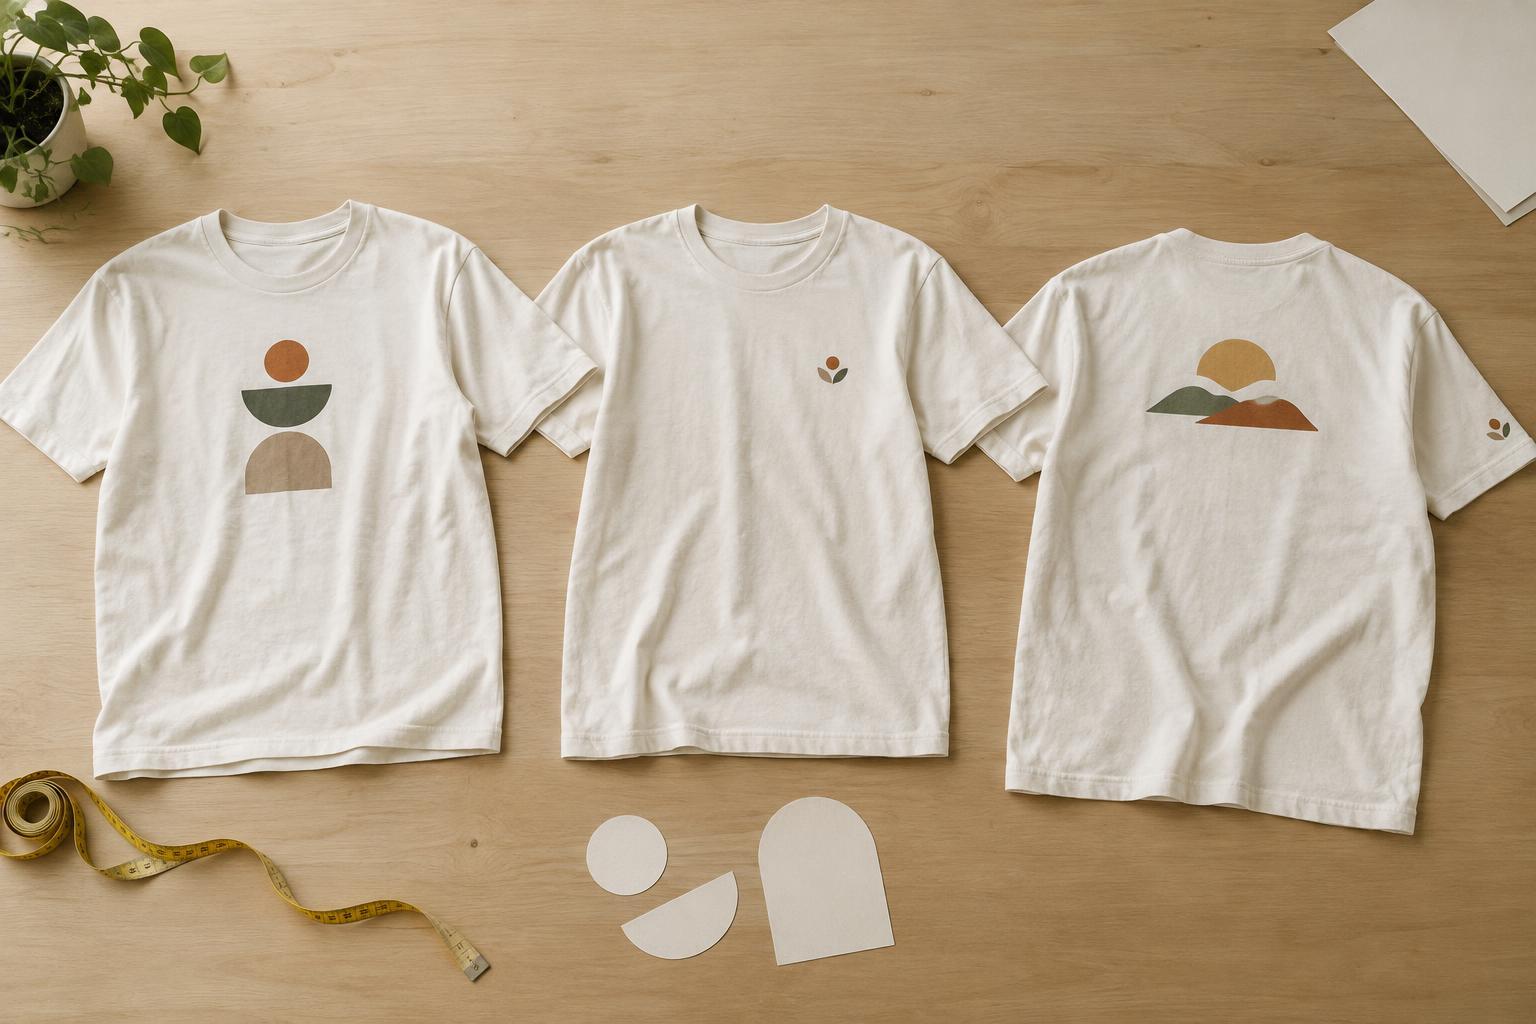
Choose a shirt and a design that work together
Stenciling is a way to add a graphic to a T-shirt without printing equipment. It works especially well for bold lettering, simple symbols and designs with a limited number of colors. Fine lines and tiny gaps are harder to keep crisp because paint can spread into the fabric. If this is your first attempt, start with one color and a design that has generous space between its details.
A smooth, closely knit shirt generally gives you a more even surface than a heavily textured one. Check that the paint you choose is intended for the shirt’s fiber content: products suited to cotton may have different instructions from those intended for synthetics or blends. Fabric paint is designed to remain more flexible on clothing than ordinary craft paint. If you plan to mix an additive into another type of paint, follow that product’s directions rather than guessing at a ratio.
Prepare the fabric and make the stencil
Wash and dry the shirt before painting, without fabric softener if the paint instructions advise against it. This helps remove finishes or residue that might interfere with adhesion. Iron the area you intend to decorate if it is wrinkled, then lay the shirt flat on a protected work surface. Place a piece of cardboard or another firm, paint-resistant barrier inside the shirt so color cannot transfer to the back. The insert should be larger than the design and smooth enough to support the fabric.
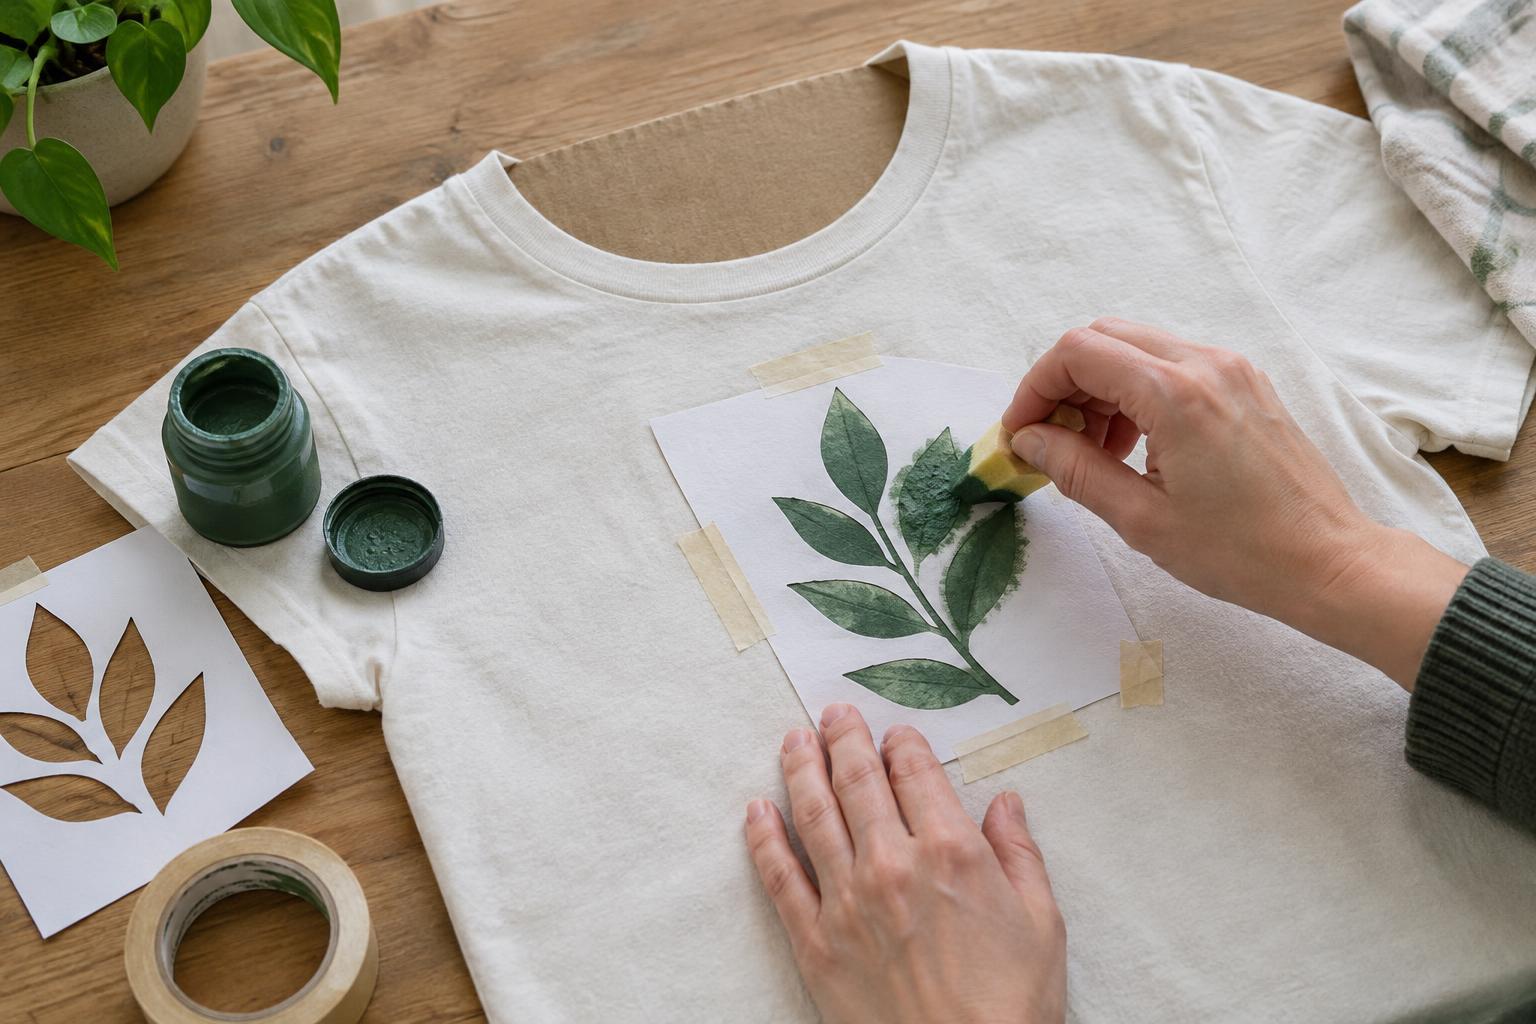
You can cut a stencil from stencil film, sturdy paper or another material that lies reasonably flat. Remember that the open areas receive paint; any enclosed shapes, such as the center of an O, need small connecting bridges if they are part of a single cut stencil. A craft knife and cutting mat can help with detailed shapes, but scissors are enough for many bold designs. If you use a spray adhesive to hold the stencil in place, check that it is suitable for fabric and test it on a hidden area first. Otherwise, secure the stencil carefully with low-tack tape around its outer edges.
Apply paint without flooding the edges
Position the stencil while the shirt is flat, checking its alignment from a short distance before you begin. Smooth the stencil gently against the fabric, especially along the edges of the open shapes. Put a small amount of paint on a palette and load a stencil brush or sponge sparingly. Dab off excess paint before touching the shirt: a nearly dry tool gives you more control than one carrying a thick blob of color.
Apply paint with light, upright dabs rather than sweeping strokes toward the stencil edges. Work gradually in thin layers, allowing each layer to dry as directed on the paint label before adding another. This can reduce seepage and stiff patches, although the fabric’s texture may still leave a slightly irregular outline. For multiple colors, let one area dry before moving to a nearby color, and keep the stencil from shifting as you work. A small test on scrap fabric can show how much paint your chosen material absorbs.
Lift the stencil and finish the design
Remove the stencil carefully before excess paint has a chance to glue it to the shirt, unless the paint maker gives different instructions. Lift it away from the design rather than dragging it across wet areas. If an edge is uneven, you may be able to touch it up with a small brush once the paint has dried enough to avoid smearing. A visible handmade edge can also be part of the design; trying to correct every small variation may make a simple graphic look overworked.
Leave the shirt undisturbed for the drying time stated on the paint container. Some fabric paints also require heat setting, while others have different curing instructions. Follow the specific product label, including any guidance about ironing temperature, a protective layer between the iron and design, and how long to wait before washing. Do not assume that paint which feels dry on the surface is ready for laundering.
Care for a hand-painted T-shirt
Once the paint has been set or cured according to its instructions, turn the shirt inside out before washing. A gentle cycle and mild detergent are sensible starting points if they are compatible with both the garment label and the paint directions. Avoid scrubbing directly across the graphic. Air drying may help limit wear from tumbling, and any ironing should follow the care guidance for the fabric and paint rather than placing a hot iron directly on the decoration.
Expect a hand-painted design to feel and age differently from a design made with another decoration method. A thick layer may feel less flexible, while a thin layer may show more of the fabric’s texture. Keeping a note of the shirt type, paint and application method makes it easier to adjust your next project. For a first design, the most useful improvement is often simple: use less paint on the tool and build the image slowly.