Start with the drawing, not the T-shirt
The appeal of a child’s drawing often lies in its unexpected proportions, uneven lines and imaginative details. Before changing anything, ask the child what the picture shows and which parts matter most to them. A shape that looks like a stray mark to an adult might be the family dog or a spaceship window. Let that explanation guide the design rather than automatically making the artwork neater.
Choose a drawing with a clear focal point, especially if the finished design will be fairly small. A single character, animal or scene is often easier to recognise on a shirt than a page crowded with tiny details. If the artwork includes the child’s name, school or other identifying information, decide whether it should appear on a garment that may be worn in public. You can keep the original safely stored and work from a copy.
Capture the artwork clearly
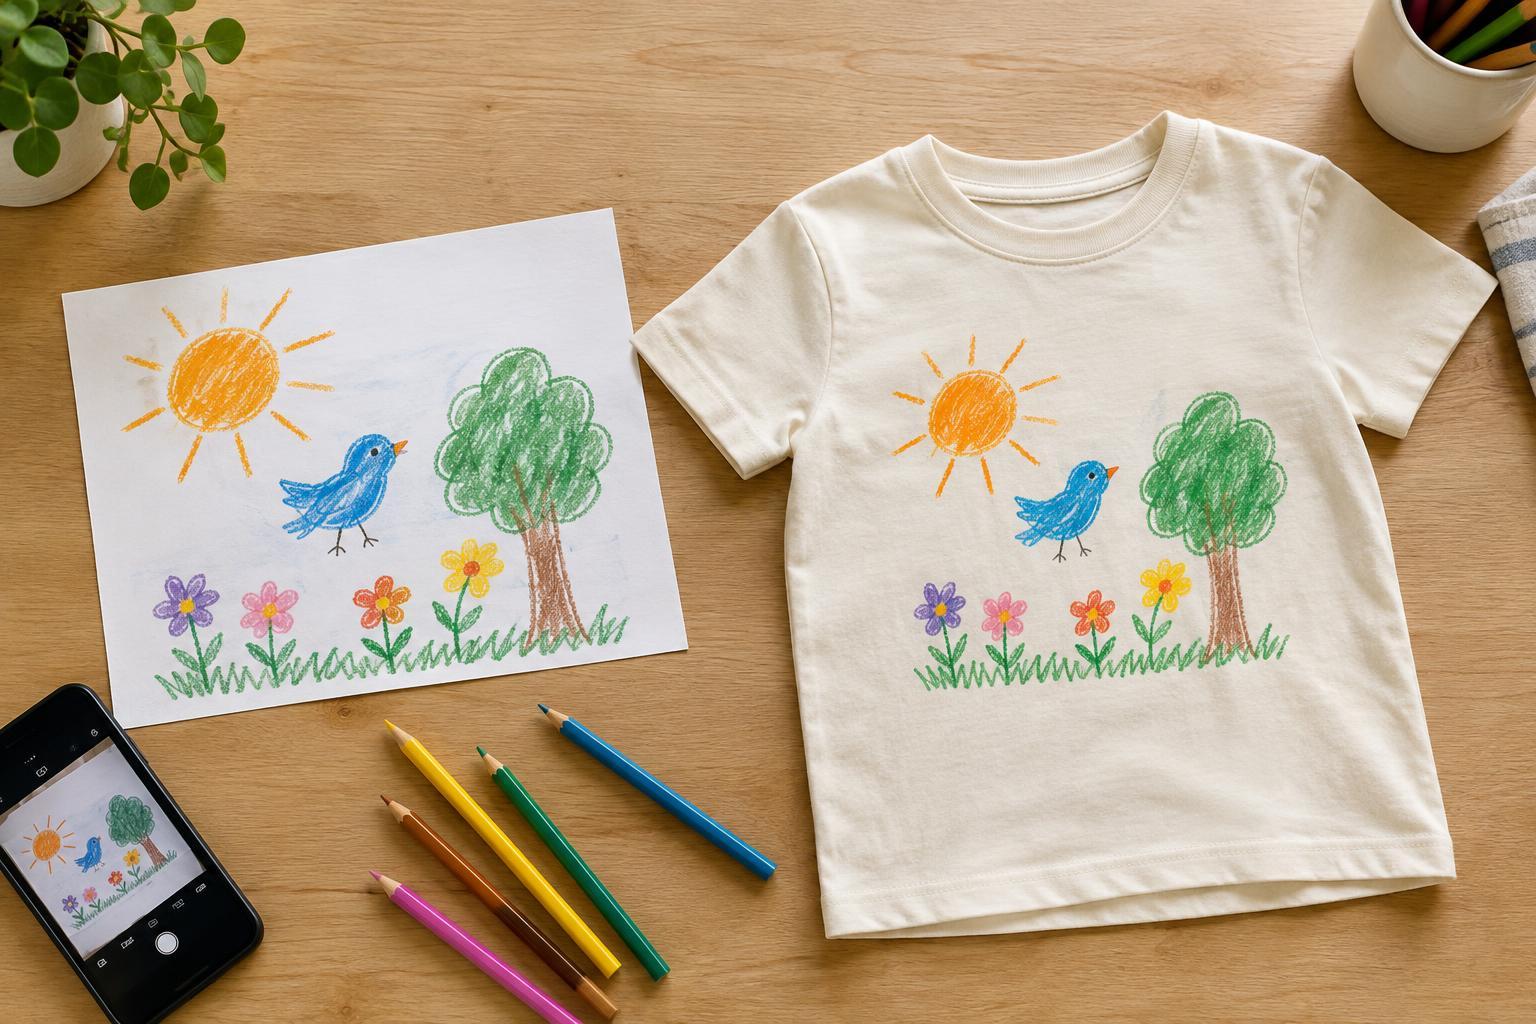
A flatbed scan is a straightforward way to capture work on paper. If you use a phone instead, place the drawing on a flat surface in even light and take the photo from directly above. Watch for shadows, glare, curled edges and perspective that makes a rectangle look like a trapezoid. Keep the highest-quality version you have so you can return to it if later edits do not work.
Next, crop away the surrounding table or scanner bed and adjust the image until the paper looks reasonably clean. Avoid pushing the contrast so far that light pencil lines or delicate colours disappear. You may want to remove the paper background for a design that sits directly on the fabric, but you can also retain it as a deliberate rectangular panel. If you are unsure, save both versions and compare them on a mock-up of the shirt.
Edit lightly and plan the composition
Small edits can help the drawing read well on fabric: remove an accidental smudge, close a gap in a line or strengthen a pale colour. Try not to smooth every wobble or redraw the image into a polished illustration. Those irregularities are part of its character. Zoom out while editing; a detail that looks important on a screen may be barely visible at the size it will appear on a chest.
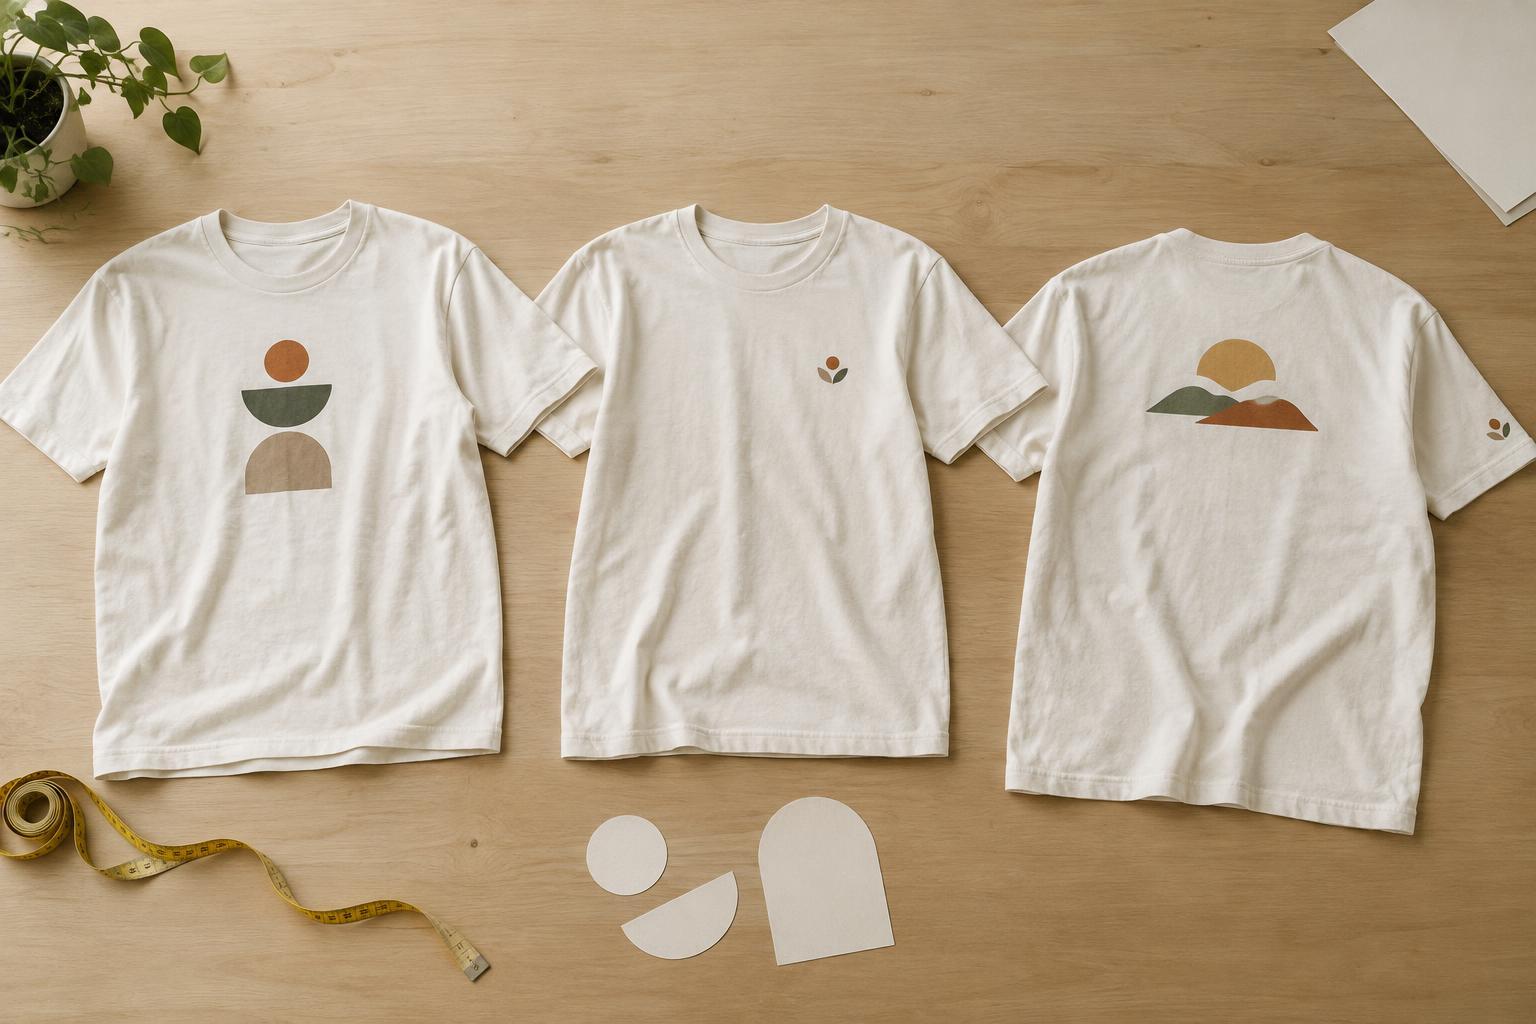
Consider where the artwork will sit. A centred front design gives a whole scene room to breathe, while a small image over the heart can make a simple character feel like a personal emblem. Leave space around the edges so the picture does not feel cramped. If you add text, keep it secondary and check the spelling with the child. Their own caption may be more memorable than an adult’s slogan, but the drawing can work perfectly well without words.
Match the decoration method to the picture
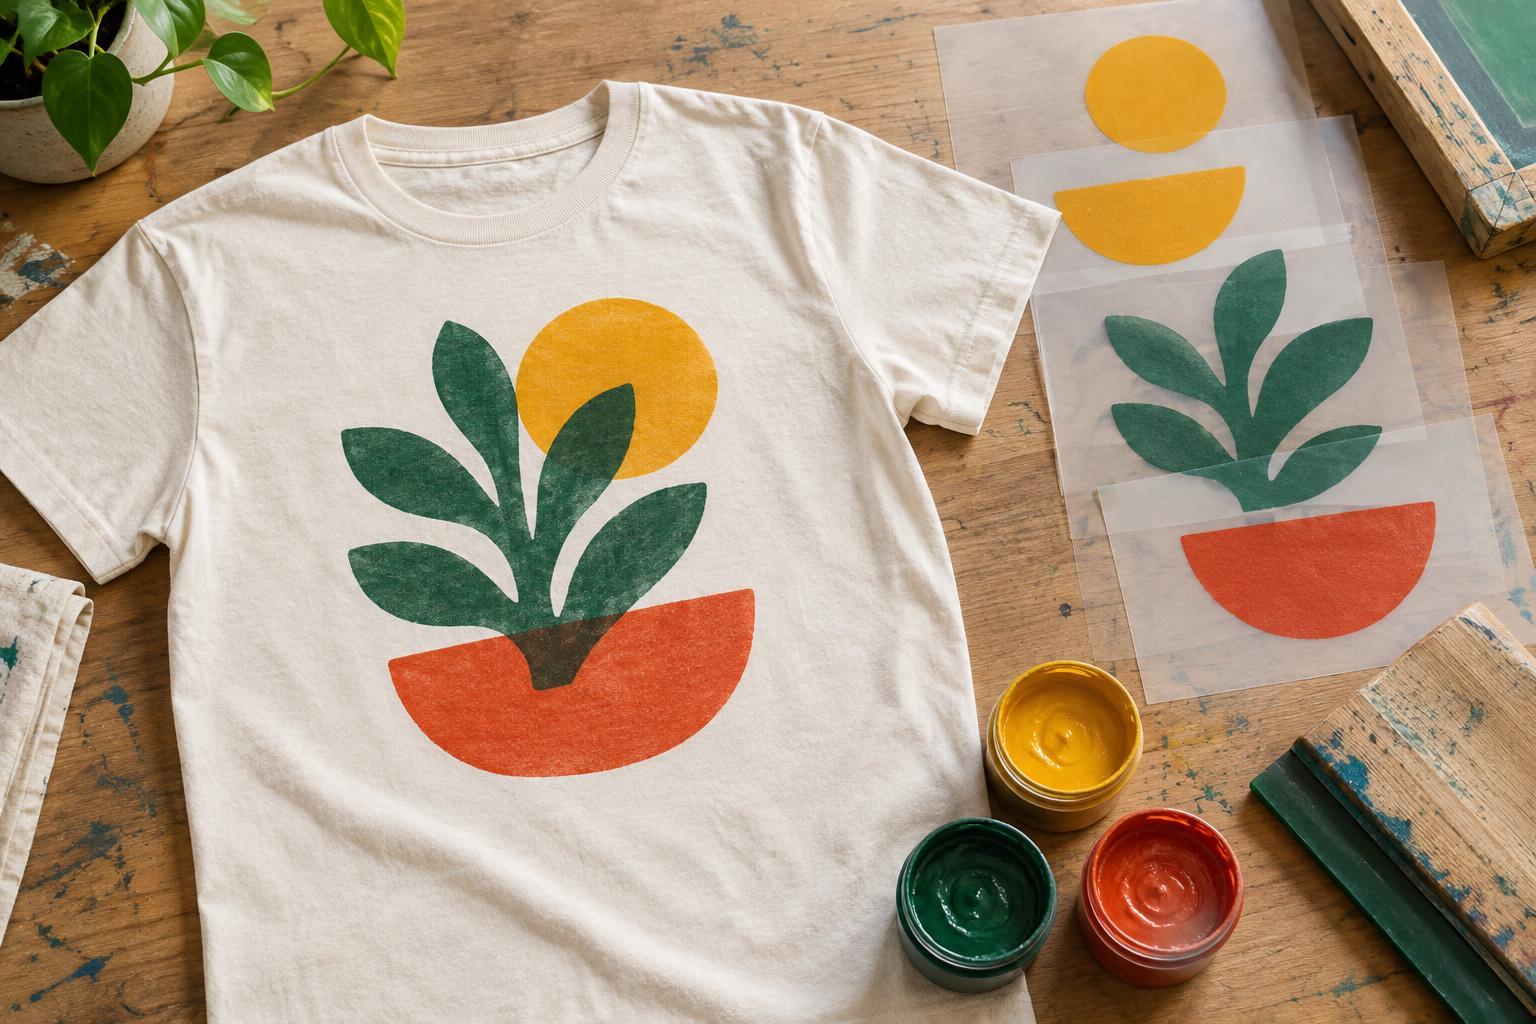
Different decoration methods suit different kinds of artwork. Direct-to-garment printing or a suitable transfer can accommodate drawings with several colours and uneven lines. Screen printing may be worth considering for a simplified design made in multiples, though setup and colour choices can affect what is practical. Embroidery can give a bold doodle a tactile look, but fine pencil marks and intricate colour changes may need to be simplified into stitch-friendly shapes.
Ask a print provider what file format, image size and background treatment they prefer before finalising the artwork. A preview can help you spot missing lines, unexpected white areas or a design that is too large for the garment. Colours on fabric may not look identical to colours on paper or a screen, so treat the preview as a planning aid rather than a promise of an exact match.
Choose a shirt they will want to wear
The garment is part of the design. A light-coloured shirt can help dark outlines stand out; a darker shirt may suit a bright, bold drawing if the chosen decoration method supports it. Think about fabric feel, neckline and fit as well as appearance. For a child, a comfortable shirt in a size they can move in is more useful than one selected only because it makes the artwork look striking.
Before ordering or making the shirt, print the design on ordinary paper at its intended size and hold it against the garment. This simple check can reveal whether faces, lettering and small details are readable. Once the shirt is finished, follow its care label and any decoration-specific instructions. The result need not reproduce every mark perfectly: the goal is a wearable version of the child’s idea that still feels recognisably theirs.