Start with pixels, not the file size
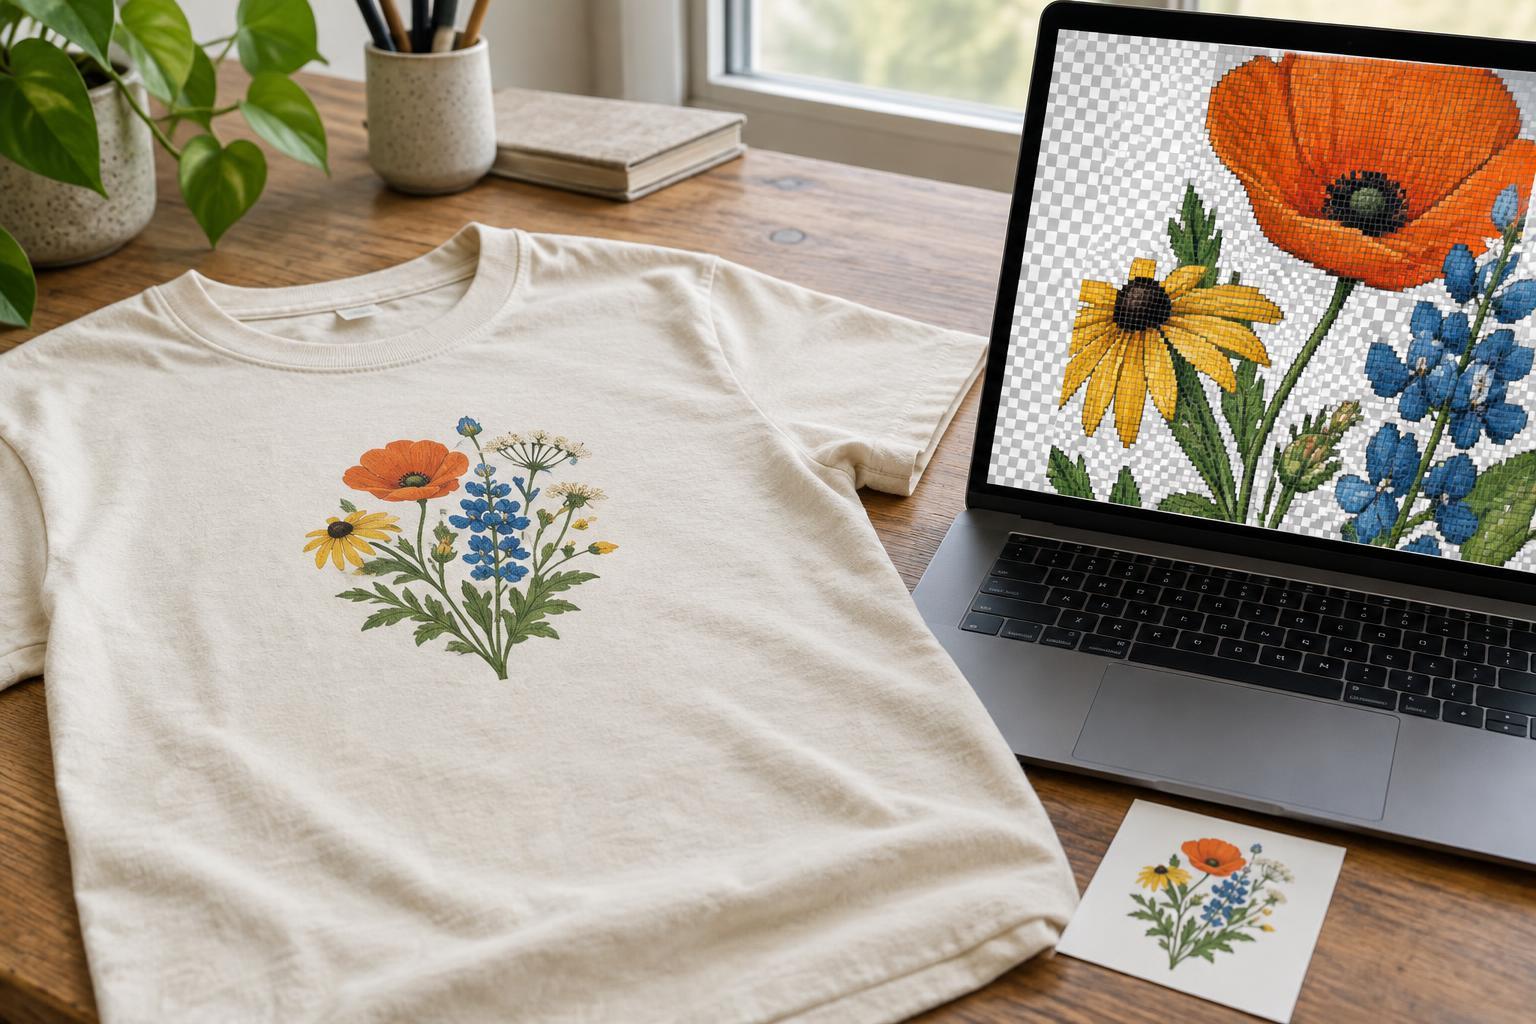
A raster image is built from a grid of pixels. Photographs and many digital illustrations are raster images, commonly saved as JPEG, PNG or TIFF files. When you enlarge one, its pixels must cover more space. If there are too few pixels for the intended print size, details can look soft or jagged on the shirt.
The number of megabytes in a file does not tell you whether it is suitable for printing. Compression, colour information and transparency all affect file size. A small, highly compressed JPEG may have plenty of pixels but visible artifacts; a larger file may contain fewer pixels than you expect. Check the image’s pixel dimensions first, then decide how large you want it to appear on the garment.
Match resolution to the intended print dimensions
Print resolution describes how many image pixels are used per inch of printed artwork, often called pixels per inch or PPI. You can estimate it by dividing a pixel dimension by the corresponding print dimension. For example, an image that is 3,000 pixels wide will print at 300 pixels per inch if it is 10 inches wide. At 15 inches wide, the same image provides 200 pixels per inch.
Aiming for around 300 pixels per inch at the intended print size is a useful starting point for detailed raster artwork, but it is not a universal requirement. A large, simple graphic may tolerate less detail than a small photograph with fine texture. The decoration method, garment surface and printer’s workflow also matter. Ask the print provider for its preferred pixel dimensions and maximum print area rather than relying on a number shown in a file’s resolution field.
Changing a file’s resolution setting from 72 to 300 without adding pixels does not make the artwork sharper. It changes the relationship between its pixels and its stated print dimensions. If the image is too small, the most reliable options are to print it smaller, find a higher-resolution original or recreate simple elements as vector artwork. Upscaling software can smooth an enlargement, but it cannot reliably recover detail that was never present.
Prepare the image for its background
Think about the shirt colour while preparing the artwork. A photograph saved as a JPEG usually has a rectangular background, which may print as a visible box. For a design that needs an irregular edge, use a format that supports transparency, such as PNG, and inspect the edges against both light and dark backgrounds. Pale pixels left around a cut-out can become noticeable on a dark shirt.
Transparency does not mean every faint detail will reproduce exactly as it appears on a monitor. Soft shadows, semi-transparent brushwork and tiny isolated marks may need special handling, depending on the print method. Likewise, very thin lines and small lettering can become difficult to read on textured fabric. Keep a copy of your layered working file so you can adjust the design if the printer recommends thicker lines or a different background treatment.
Choose an export that preserves useful detail
PNG is often convenient for illustrations with transparency, while a high-quality JPEG can be suitable for a photograph with an intentional full background. Repeatedly saving a JPEG can introduce compression artifacts around edges and text, so export from the original working file when possible. If a provider accepts a layered file or another format, follow its specifications; a format that works for one printing workflow may not be preferred for another.
Avoid adding decorative detail simply because it looks crisp when zoomed in. Preview the artwork at approximately its intended print size and check whether lettering, borders and important features remain clear. Colours on a lit screen may not match ink on fabric exactly, especially when the garment colour influences the design. If the provider has colour-mode or proofing requirements, use those rather than converting files based on a general rule.
Do a final size and file check
Before submitting artwork, note its pixel dimensions and the width and height you want printed. Confirm that the artwork fits within the printer’s available print area; do not assume the whole front or back of a shirt is printable. View the exported file at full size to look for blur, JPEG artifacts, stray pixels and unwanted background colour. Then place it over a mockup of the intended shirt colour to check contrast and placement.
Keep the original file, the final export and a note of the intended print dimensions. That makes it easier to answer questions or produce another size later. A clear file and a clear size request give the printer a better starting point, even though the finished appearance will still depend on the decoration process and the fabric.