Start with the part of the trip everyone shares
A travel group T-shirt works best when it captures a shared experience rather than trying to reproduce the entire booking confirmation. Before choosing artwork, ask what makes this particular trip yours. It might be a road trip with several memorable stops, a reunion built around one destination, or a weekend whose running joke is the early train everyone agreed to catch.
Pick one central idea to anchor the design: a route, a destination, a recurring activity or a phrase the group already uses. Then treat the itinerary as supporting material. A shirt for a coastal trip, for example, could feature a simple shoreline shape on the front and the names of three planned stops on the back. It would still make sense as a keepsake if a café visit or afternoon excursion changed at the last minute.
Turn the route into a visual story
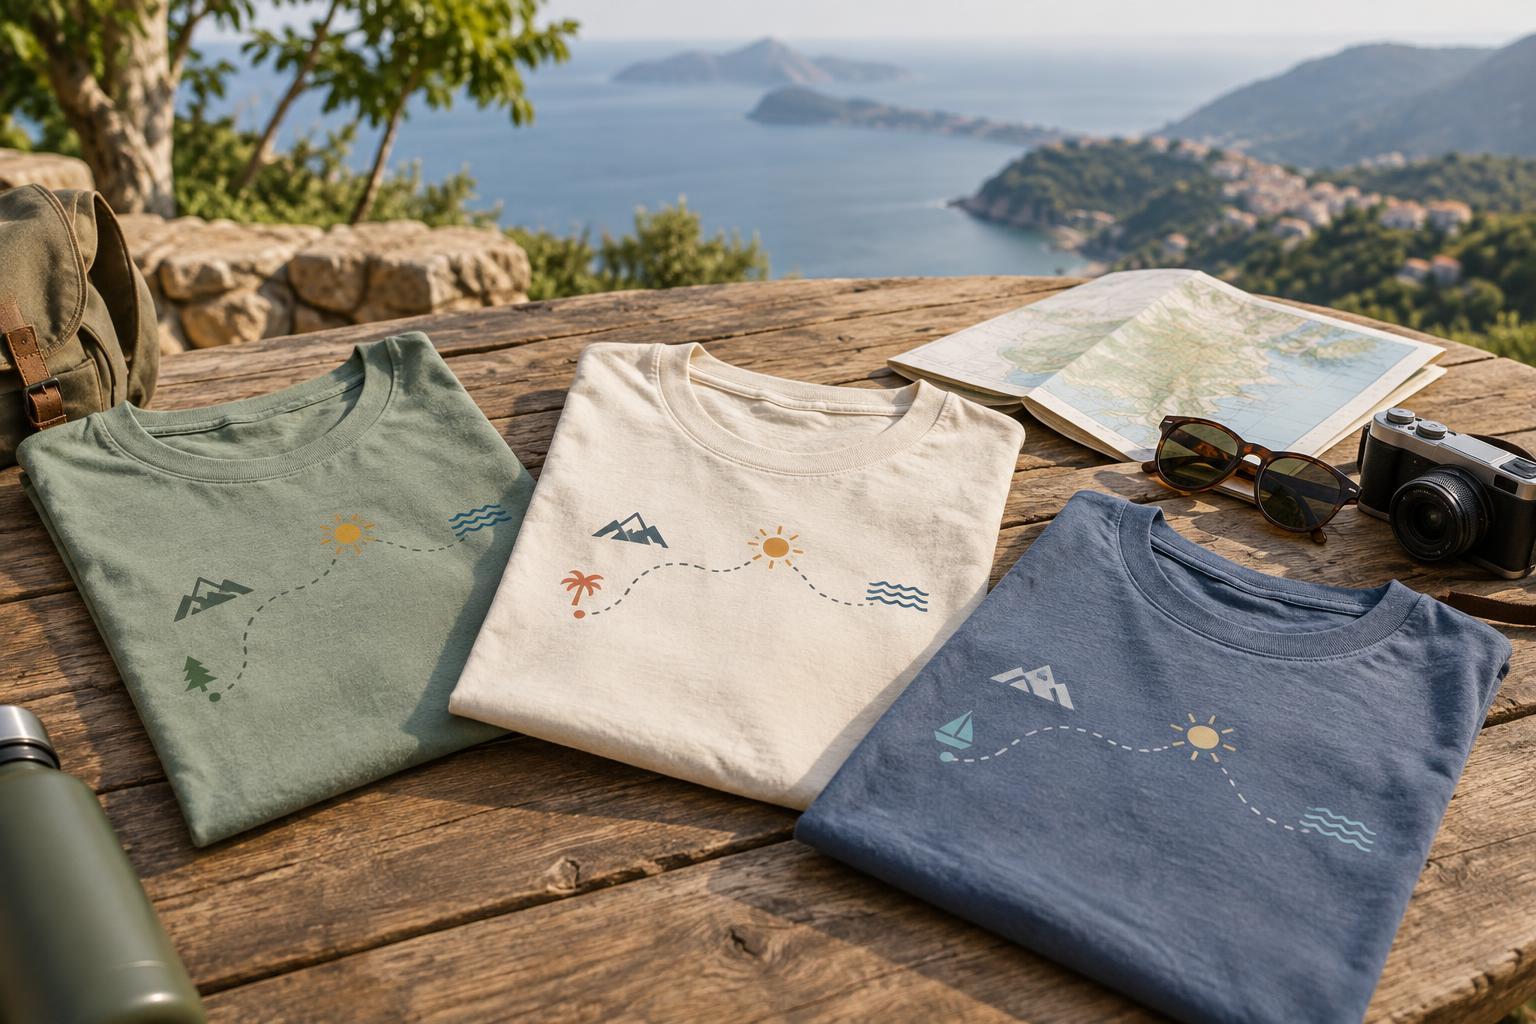
A route graphic can make multiple destinations feel connected. Use a winding line between simplified place names, a sequence of small symbols, or a row of stops styled like a transit diagram. For a walking trip, trail markers or changes in landscape may tell the story more clearly than a literal map. For a city break, a short list of neighborhoods can be more legible than a dense street layout.
Decide how much geographic accuracy the design needs. If the goal is a playful souvenir, an illustrative route may be enough; if following the route is the point, check the order and spelling of each stop before finalizing the artwork. Keep the most important information large enough to read at a glance. Tiny labels that look appealing on a screen can become hard to distinguish on a shirt, especially when several are placed close together.
Give the itinerary a personal voice
Place names are only one way to reflect a trip. You could build the design around a shared ritual: the first coffee of each morning, a favorite playlist, a group photo pose or the snack everyone packs. These details often make a shirt feel more specific than a generic skyline or suitcase illustration. Keep inside jokes brief enough that they do not overwhelm the design; a small line beneath the main graphic can do the work.
For individual shirts, consider adding a first name, nickname or role, such as navigator or designated playlist curator. A consistent position and type style will help the shirts look like a set. Personalisation does not have to mean printing the full itinerary on every garment. One common design with a small individual detail can give everyone a sense of belonging while leaving room for personal choice.
Make the design wearable during and after the trip
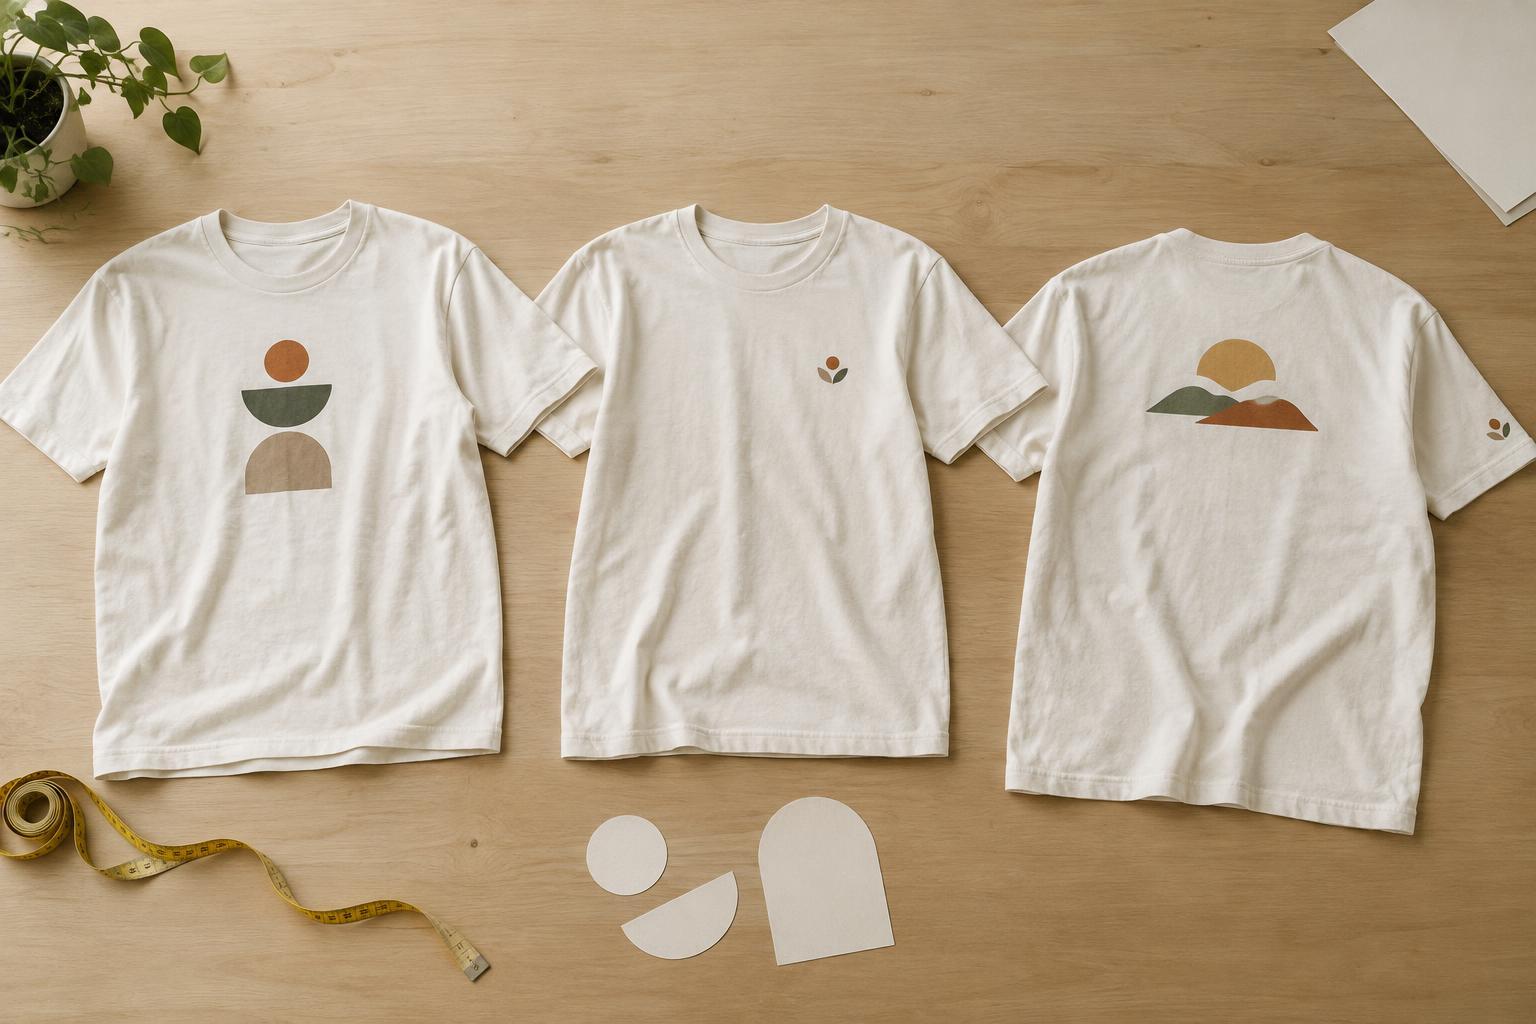
Think about where the group will actually wear the shirts. A large graphic may be fun for a group photo, while a small chest emblem and a larger back design can feel more versatile for everyday wear. Choose a shirt color that supports the artwork but also suits the group’s preferences. If members can choose between a few garment colors, check that the design remains readable on each one.
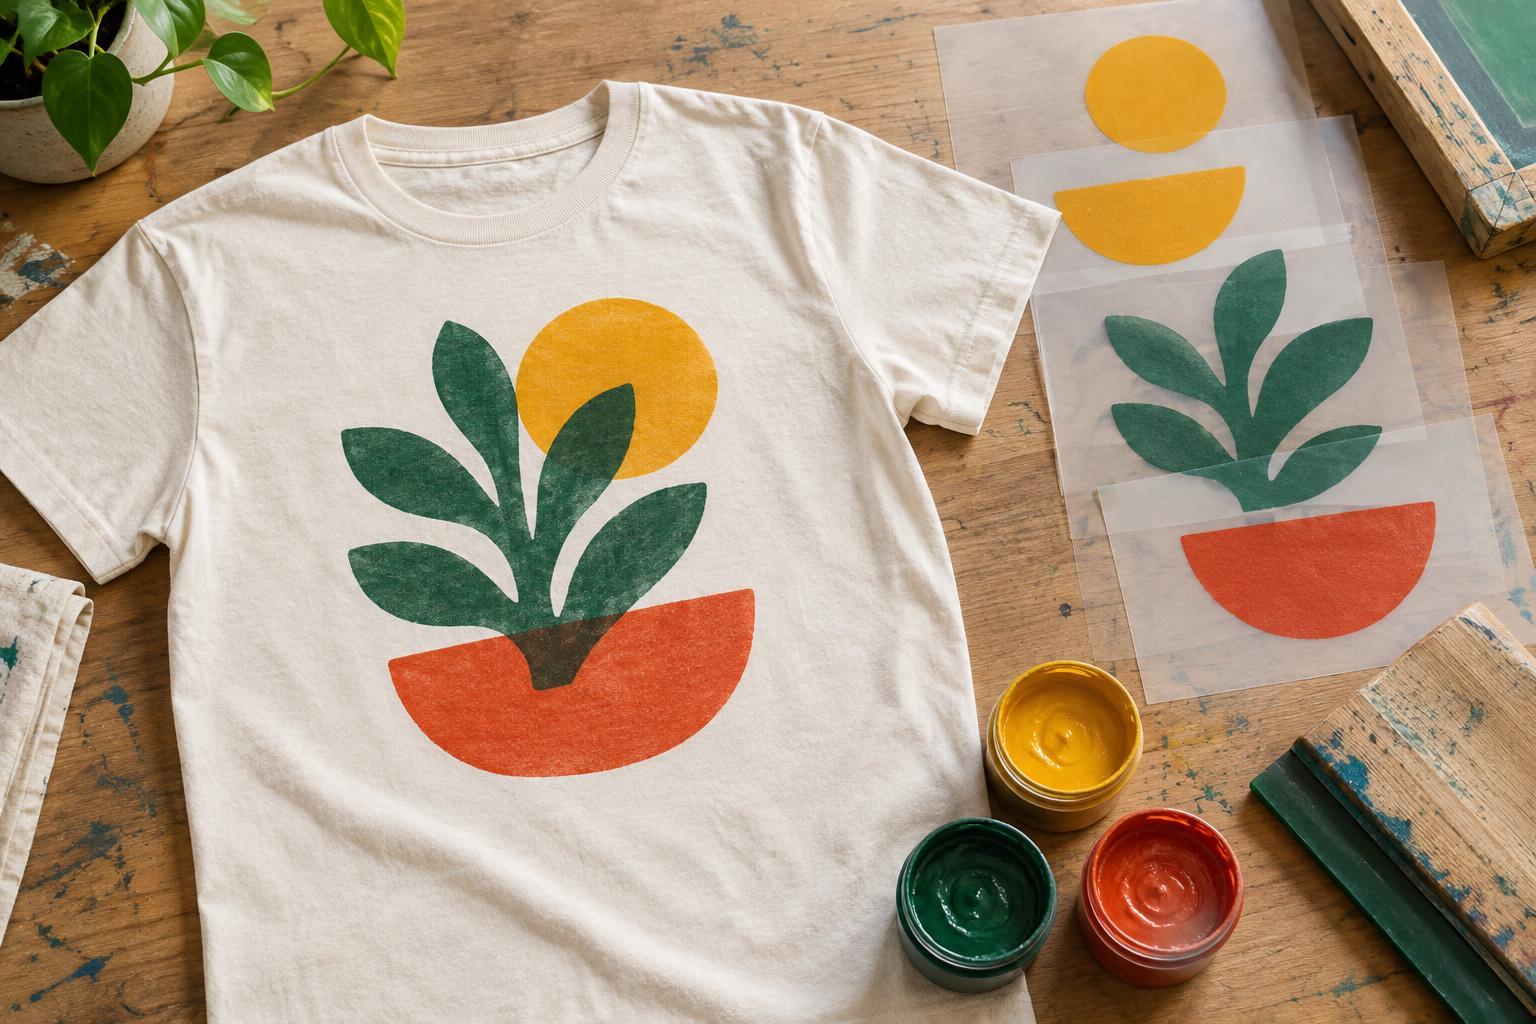
The decoration method should suit the artwork rather than dictate it. Bold shapes and limited colors can be straightforward choices for many printing approaches, while fine lines, gradients and lots of small text may need more careful preparation. Embroidery can work well for a compact symbol or short word, but it is less suited to a detailed itinerary. Ask the provider for artwork requirements and placement guidance before treating a screen mockup as a final result.
Plan for changes and check the details
Travel plans can shift, so separate enduring details from those likely to change. A destination, group name or broad route may age better than a minute-by-minute schedule. If dates matter to the group, a year or trip name may be enough. You can also leave space for a post-trip tradition, such as adding a small patch or marking a favorite stop later, rather than trying to predict every highlight in advance.
Before ordering, share one clear proof with the group. Check names, place spellings, stop order, shirt sizes and whether anyone would prefer not to display a personal detail. For a shirt that may appear in public photos, avoid printing room numbers, private contact information or other details the group would not want to share widely. A final read-through helps the design stay focused on what matters: the experience everyone will recognize when they wear it again.